Radon gas, a natural radioactive hazard, can enter your home through cracks and gaps, increasing lung cancer risk over time. To keep safe, test your home with the right device—short-term or long-term kits—placed in your lowest livable area. If levels reach 4 pCi/L or higher, mitigation methods like soil depressurization or sealing cracks are essential. Regular testing and proper techniques protect your family. Continue exploring to learn how to effectively test and reduce radon in your home.
Key Takeaways
- Test your home using approved short-term or long-term radon test kits to determine indoor radon levels accurately.
- Levels of 4 pCi/L or higher require immediate radon mitigation measures to protect health.
- Mitigation strategies include sub-slab depressurization, sealing cracks, and improving ventilation for effective reduction.
- Regularly retest your home annually or after renovations to ensure radon levels remain safe.
- Use certified hardware and follow proper procedures for testing and mitigation to ensure reliable results and safety.
Understanding Radon and Its Health Risks
Radon is a naturally occurring radioactive gas that you can’t see, smell, or taste, but it can pose serious health risks if it accumulates in your home. It forms from the decay of uranium in soil, rock, and water, seeping into buildings through cracks and gaps. Breathing in radon increases your risk of lung cancer, making it the second leading cause after smoking. The danger is especially high in enclosed spaces where radon can build up over time. Long-term exposure to elevated radon levels damages lung tissue, markedly raising your cancer risk. Because you can’t detect radon without testing, understanding its health risks highlights the importance of monitoring and mitigation to protect yourself and your loved ones from its invisible threat. Lesser-known camping spots can offer a peaceful environment free from the high radon levels that sometimes exist in urban areas.
How to Test for Radon in Your Home
To test for radon in your home, you’ll need to choose the right testing device and know where to place it for accurate results. Proper placement is key—usually away from drafts or high humidity areas—so the test reflects typical living conditions. Once you get your results, understanding what they mean helps you decide if further action is necessary. Consulting air quality guidelines can also provide additional insight into safe radon levels and mitigation options.
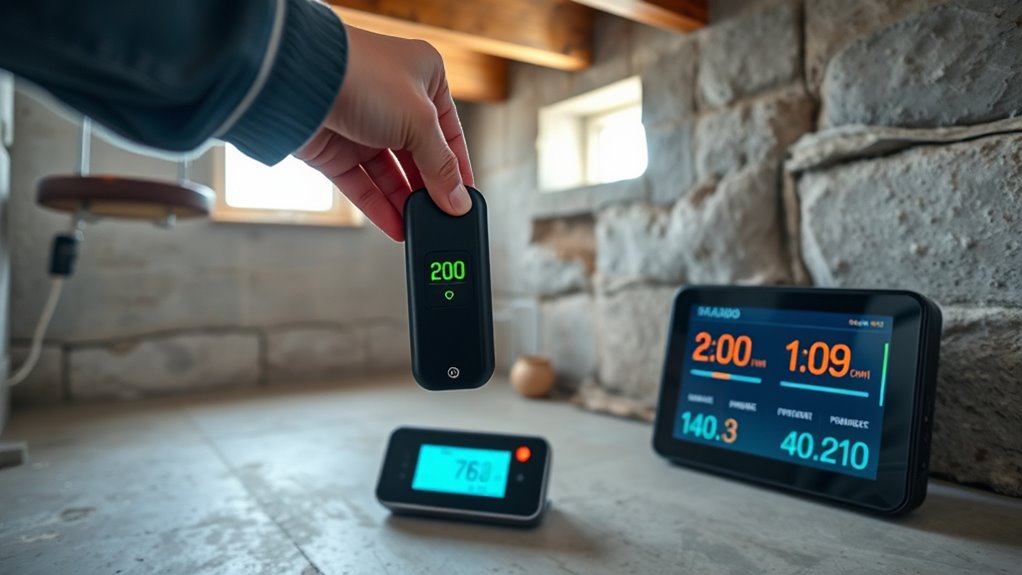
Selecting Testing Devices
Choosing the right radon testing device is an important step in accurately evaluating your home’s safety. There are three main options to contemplate:
- Short-term test kits – These provide quick results over 2 to 7 days, ideal for initial screening.
- Long-term test kits – These measure radon levels over 90 days or more, offering a more accurate picture of your home’s average radon level.
- Continuous radon monitors – These electronic devices track radon levels continuously, giving real-time data and detailed insights.
Consider your timeline, budget, and the level of detail you need when selecting a device. Properly choosing your testing device ensures you get accurate results to make informed safety decisions. For instance, understanding Kia Tuning can illustrate the importance of precise adjustments—similarly, selecting the proper testing method ensures accurate radon assessment.
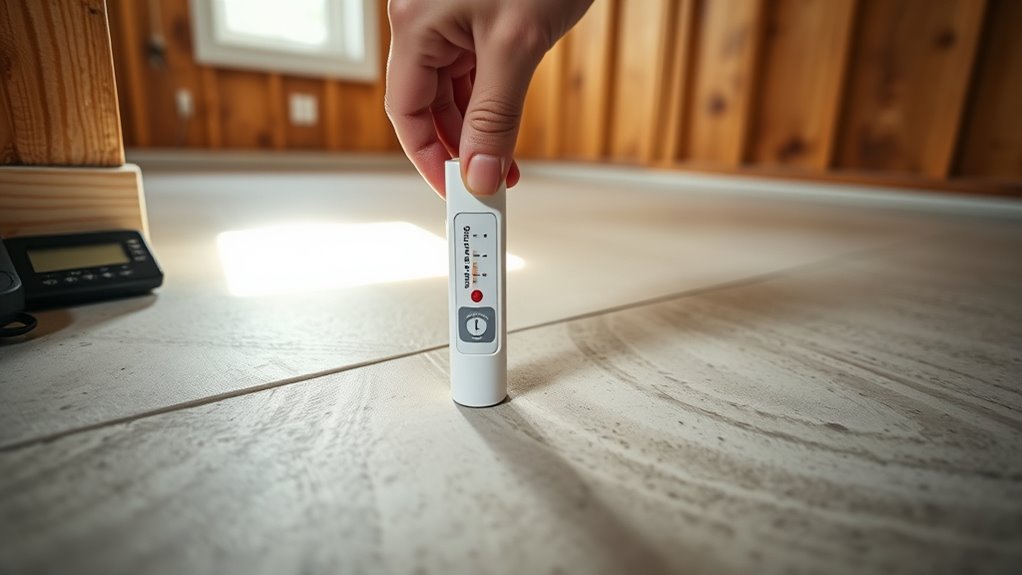
Proper Test Placement
Proper test placement is crucial for obtaining accurate radon readings, as even small differences in location can greatly affect results. You should place the test kit in the lowest lived-in level of your home, ideally in the main living area, not in kitchens, bathrooms, or near windows or vents. Keep the device at least 20 inches above the floor and away from drafts, high heat, and humidity sources. Avoid placing it near exterior walls or in direct sunlight, as temperature fluctuations can skew results. Ensure the device remains undisturbed during the testing period, which typically lasts 48 hours. Proper placement minimizes external influences and provides a clear picture of your home’s radon levels, helping you determine whether mitigation is necessary. Using appropriate testing devices designed for accurate radon detection can further improve the reliability of your results.
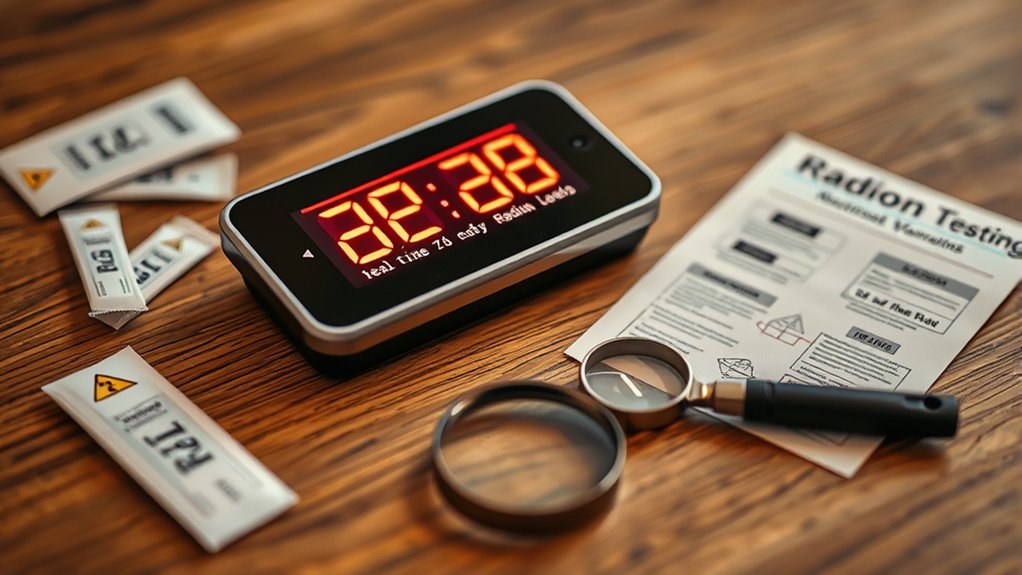
Interpreting Results
How do you know if your radon levels are safe or require action? First, check your test results carefully. Radon levels are measured in picocuries per liter (pCi/L). If your reading is 4 pCi/L or higher, it’s time to take action. Here are three key points to interpret your results:
- Below 2 pCi/L – Radon levels are generally considered safe, but testing every couple of years is wise.
- Between 2 and 4 pCi/L – Levels are elevated; consider retesting or installing mitigation systems.
- Above 4 pCi/L – Immediate mitigation is recommended to reduce indoor radon levels.
Always use the proper testing devices and follow instructions carefully to make certain of accurate results. Accurate testing is essential for determining whether mitigation is needed. If in doubt, consult a radon professional.
Choosing the Right Radon Testing Devices
When selecting a radon testing device, you’ll need to consider the different types available, such as short-term and long-term detectors. It’s also important to think about how accurate and reliable each option is to guarantee you get trustworthy results. By understanding these points, you can choose the best device for your home’s needs.
Types of Testing Devices
Choosing the right radon testing device is essential to accurately assess indoor radon levels. Different devices suit various needs, so understanding your options helps guarantee reliable results. Here are three common types:
- Charcoal Canisters: Simple and affordable, these passive devices absorb radon over a few days and are best for short-term testing.
- Alpha Track Detectors: These passive devices record radon exposure over several months, ideal for long-term monitoring.
- Continuous Radon Monitors: Electronic devices that provide real-time readings, perfect for detailed, short-term or ongoing testing.
Your choice depends on your goals, timeframe, and budget. Selecting the appropriate device ensures precise measurements, giving you confidence in your radon risk assessment. Additionally, understanding the types of testing devices helps you select the most effective method for your specific situation.
Accuracy and Reliability
Selecting the right radon testing device directly impacts the accuracy and reliability of your results. You want a device that’s approved by recognized agencies like the EPA or NRPP to ensure trustworthy readings. Short-term tests are useful for quick assessments, but they can be affected by weather or ventilation changes, so consider long-term tests for a more accurate picture over time. Electronic monitors provide real-time data and can be reused, but they may be more expensive. Charcoal canisters and test kits are affordable but require proper handling and timely lab analysis. Always follow the manufacturer’s instructions carefully, and verify that your device is calibrated correctly. Choosing a reliable device ensures you get an accurate assessment, helping you make informed decisions about radon mitigation. Building a demo reel showcases your capabilities and can help you stand out in the industry.
Interpreting Radon Test Results

Interpreting radon test results is essential for understanding your home’s safety. Once you’ve received your results, you need to know what they mean. Typically, radon levels are measured in picocuries per liter (pCi/L).
Understanding your radon test results is key to ensuring home safety and taking appropriate action.
Here’s how to interpret the results:
- If your level is 4 pCi/L or higher, it’s considered unsafe, and you should explore mitigation options.
- If your level is 2 to 3.9 pCi/L, it’s moderate; consider testing again or reducing radon exposure.
- If your level is below 2 pCi/L, your home’s radon level is generally acceptable, but periodic testing is still recommended.
- Understanding these numbers helps you decide whether action is necessary to protect your health, especially considering the importance of accurate color reproduction and image quality in projectors.
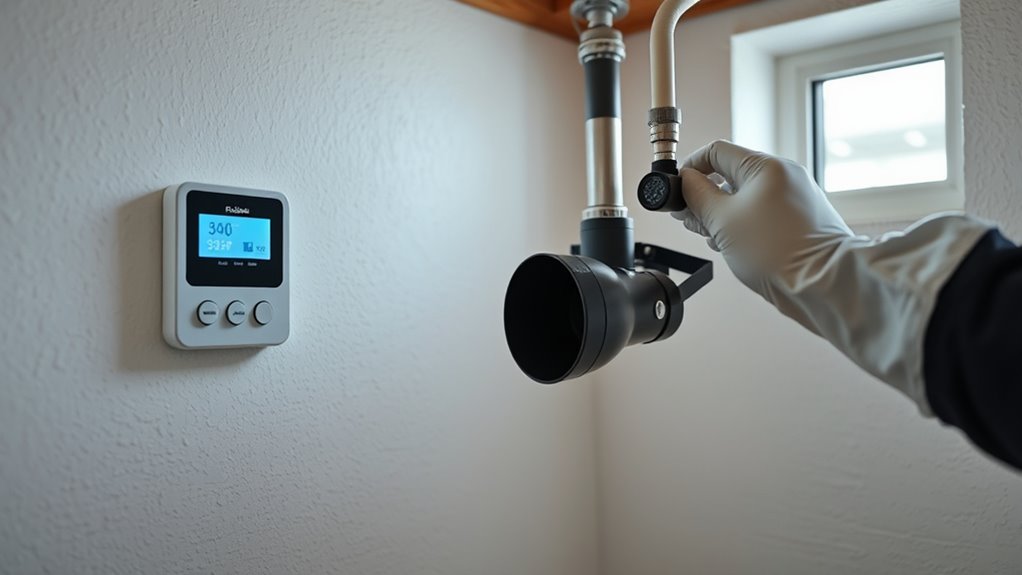
Radon Mitigation Strategies and Techniques

When radon levels in your home are high or pose a health risk, implementing effective mitigation strategies is essential. You can reduce radon exposure by installing venting systems, sealing cracks, or using active soil depressurization. Active soil depressurization is the most common and effective method, which involves creating a vacuum beneath the slab to draw radon outside. Sealing entry points can help minimize radon entry but isn’t enough alone. Here’s a quick overview:
| Strategy | Description | Effectiveness |
|---|---|---|
| Sub-slab depressurization | Vent pipe draws radon from beneath the home | Very high |
| Sealing cracks and gaps | Blocks radon entry points | Moderate |
| Ventilation improvements | Increases airflow to dilute radon levels | Variable |
Combining these methods offers the best results for safe indoor air quality. Radon mitigation techniques often utilize specialized hardware designed specifically for reducing indoor radon levels effectively.
Maintaining a Radon-Safe Home
How can you assure your home remains safe from radon over time? Regular testing is key to early detection and ongoing safety. Once you’ve mitigated radon, maintaining low levels ensures continued protection. To do this effectively:
Regular radon testing and maintenance keep your home safe over time.
- Re-test annually or after major home changes to catch any rise in radon levels.
- Keep ventilation systems in good condition and use fans or air purifiers if needed.
- Inspect and seal any new cracks or openings in your foundation that could allow radon entry.
Frequently Asked Questions
How Often Should I Retest for Radon After Mitigation?
You might wonder how often you should retest for radon after mitigation. Generally, it’s recommended to test again within 6 to 12 months after mitigation to guarantee the system works effectively. Once you’re confident the radon levels are low, testing every 2 years is advisable. Regular testing helps maintain a safe environment, giving you peace of mind that your home stays protected from radon exposure.
Are There Specific Brands of Radon Detectors Recommended by Experts?
When choosing a radon detector, you might wonder which brands experts trust. You should look for devices approved by organizations like the EPA and follow the manufacturer’s guidelines for accuracy. Popular brands include RadonEye, Airthings, and Safety Siren, known for reliability and ease of use. Be sure to select a detector that suits your needs—whether short-term or long-term testing—to make certain you get accurate results and keep your home safe.
Can Radon Levels Vary Seasonally in My Area?
Did you know radon levels can fluctuate by as much as 50% seasonally? Yes, your radon levels can vary throughout the year, often higher in winter when homes are sealed against the cold. You should test your home regularly, especially during different seasons, to get an accurate picture. This way, you can identify if your home needs mitigation and guarantee your family’s safety year-round.
What Is the Cost Range for Professional Radon Mitigation?
You’re wondering about the cost of professional radon mitigation. Typically, it ranges from $800 to $2,500, depending on your home’s size and the complexity of the installation. Factors like the number of vents needed or additional sealing work can influence the price. It’s a worthwhile investment since reducing radon levels safeguards your health. Get multiple quotes to ensure you get the best service at a fair price.
Are There Government Programs Offering Free or Discounted Radon Testing?
You might be wondering if any government programs offer free or discounted radon testing. Yes, some local and state health agencies provide low-cost or free testing kits, especially if you’re in high-risk areas. Check with your state or local health department, as they often run programs or can direct you to resources. Additionally, programs like the EPA’s Radon Action Plan may have funding or guidance to help you test your home.
Conclusion
By regularly testing and properly mitigating radon, you protect your home’s health. Imagine a family who discovered high radon levels during a routine test; after installing a mitigation system, their indoor air became safer and healthier. Don’t wait until it’s too late—stay proactive about radon. With the right knowledge and action, you can keep your home safe for everyone. Your health and peace of mind are worth it.